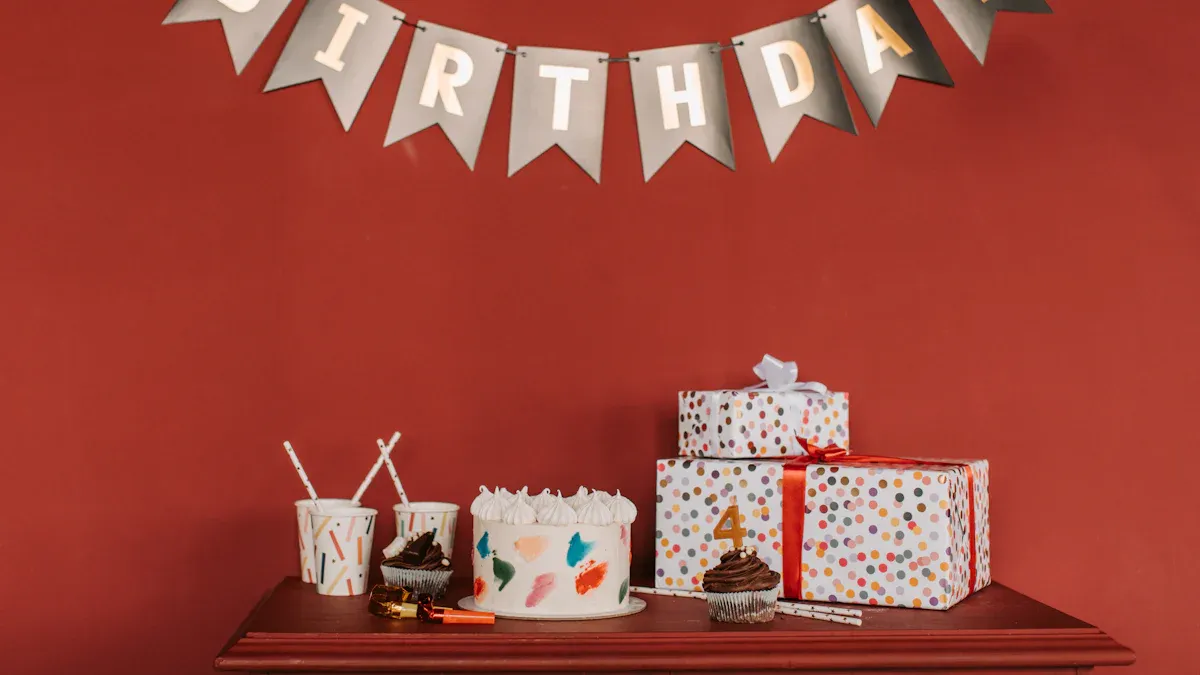
A happy birthday banner can make any party more cheerful. It’s not just for looks—it makes the day feel special. You can create a happy birthday banner yourself (by using printable happy birthday banner and template) or purchase a custom vinyl birthday banner. A fun happy birthday banner adds a personal touch everyone will love.
Key Takeaways
A birthday banner makes any party feel unique and fun.
You can custom happy birthday banner with fabric, paper, or seed paper.
Adding spots for guests to write notes makes it special.
Floral Watercolor Happy Birthday Banner
Hand-painted floral designs
A floral watercolor happy birthday banner adds a touch of elegance to any celebration. You can create one with hand-painted designs that feel personal and unique. Think about flowers like roses, daisies, or even tropical blooms. These designs can match the party theme or the birthday person’s favorite colors.
Start by choosing sturdy paper or cardstock as your base. Sketch your floral patterns lightly with a pencil before painting. This step helps you plan the layout and avoid mistakes. Use watercolor paints to bring your flowers to life. Blend colors to create soft, natural gradients. You don’t need to be an artist—simple shapes and strokes work beautifully.
If painting feels intimidating, try using stencils or stamps for your floral designs. These tools make it easier to achieve a polished look without much effort. Once your banner is complete, string the pieces together with twine or ribbon for a charming finish.
Tip: Add a few metallic accents, like gold or silver paint, to make your flowers pop.
Tips for using watercolor techniques
Watercolor painting is easier than you might think. Start by using a small brush for detailed work and a larger brush for filling in spaces. Keep your brush damp but not soaking wet to control the paint flow.
Layering is key to creating depth. Begin with lighter shades and gradually add darker tones. Let each layer dry before adding the next to avoid smudging. If you want softer edges, use a wet brush to blend the colors while they’re still fresh.
Don’t forget to test your colors on scrap paper first. This step helps you see how they’ll look on your banner. For an easy DIY birthday photo banner, experiment with mixing colors to create unique shades.
Pro Tip: Use masking tape to secure your paper while painting. It keeps your work steady and prevents curling edges.
Boho Macramé Happy Birthday Banner
Incorporating natural fibers and earthy tones
A boho macramé happy birthday banner is perfect for creating a cozy, rustic vibe. It’s all about using natural materials like cotton rope, jute, or even recycled yarn. These fibers bring a soft, earthy feel that fits beautifully with boho-themed parties. You can choose neutral tones like beige, cream, or light brown for a classic look. Or, add pops of color with dyed fibers to match your party’s palette.
To make your banner stand out, consider adding wooden beads, feathers, or tassels. These small details can elevate the design and make it feel more personal. You can also experiment with different macramé patterns, like knots or braids, to create unique textures.
Tip: Pair your macramé banner with greenery or fairy lights for an extra magical touch.
How to create a macramé banner at home
Making a macramé banner at home is easier than you think. Start by cutting equal lengths of rope or yarn. Attach them to a wooden dowel or sturdy string using a simple lark’s head knot. From there, you can create patterns by tying square knots, spiral knots, or other basic macramé techniques.
If you’re new to macramé, don’t worry! There are plenty of online tutorials to guide you step by step. For an easy diy birthday banner, stick to simple designs that don’t require advanced skills. Once your knots are complete, trim the ends to your desired length and add decorative elements like tassels or beads. Hang your finished banner on a wall or across a table for a stunning display.
Pro Tip: Use a clipboard or tape to hold your project steady while you work.
Vintage-Inspired Fabric Happy Birthday Banner
Creating a nostalgic feel with reused fabrics
A vintage-inspired fabric happy birthday banner adds a cozy, old-fashioned touch to any party. Use old tablecloths, curtains, or clothes to make it special. These fabrics often have cool patterns and textures that stand out. Plus, reusing fabric is a great way to help the planet!
First, pick fabrics with colors or prints that match your party. Patterns like flowers, polka dots, or stripes work well for a vintage style. Cut the fabric into shapes like triangles or rectangles. For neat edges, fold and iron the fabric before cutting.
Tip: Combine different fabrics for a fun, patchwork design.
Easy sewing or no-sew methods
You don’t need sewing skills to make this banner. If you like sewing, stitch the fabric pieces onto a ribbon or string. A simple straight stitch will do the job. For a no-sew option, use fabric glue or double-sided tape to stick the pieces together. Both ways are simple and quick!
Add decorations like lace, buttons, or bows to make it extra pretty. Hang the banner on a wall or table, and it will make your party space look amazing.
Pro Tip: Cut the fabric with pinking shears. It stops fraying and looks fancy.
Chalkboard-Style Happy Birthday Banner
Using black paper and white chalk pens
A chalkboard-style happy birthday banner is fun and easy to make. Use black paper as the base for a bold background. White chalk pens work great for writing and drawing on it. This combo looks like a real chalkboard and is simple to read.
First, cut the black paper into shapes like triangles or rectangles. Write letters or draw designs using the white chalk pens. Add borders or patterns to make it more creative. For a smoother look, try using white ink or embossing powder. These tricks make your banner look even better.
Want to make it unique? Add shading or small colors with markers. You can also use stencils for neat letters or shapes. This banner style fits any party theme, from modern to rustic.
Tip: Keep your chalk pens lying flat so they work well next time.
Reusable designs for different events
The best part about this banner is you can reuse it. Wipe off the chalk pen designs and make new ones for other parties. It’s a great way to save materials and time.
For permanent designs, use heat embossing to lock them in place. If you want flexibility, leave blank spaces to add new designs later. This makes the banner perfect for birthdays, holidays, or anniversaries.
A reusable banner is eco-friendly and shows off your creativity. It’s easy to store and use again for many celebrations.
Pro Tip: Roll or lay your banner flat to avoid wrinkles and keep it looking nice.
LED Light-Up Happy Birthday Banner
Adding fairy lights for a glowing effect
Want to make your party decorations shine—literally? An LED light-up happy birthday banner is the way to go! Adding fairy lights to your banner creates a magical, glowing effect that will wow your guests. It’s perfect for evening parties or dimly lit spaces where the lights can really stand out.
To get started, pick a banner design that works well with lights. Banners made from sturdy materials like cardstock or fabric are ideal. Once you have your base, weave a string of fairy lights around the edges or through the letters. You can use clear tape or small clips to secure the lights in place.
For an extra pop, choose fairy lights in colors that match your party theme. Warm white lights give a cozy vibe, while multicolored ones add a playful touch. You can even find battery-operated lights shaped like stars or hearts for a unique look.
Tip: Test the lights before attaching them to your banner to make sure they work properly.
Tips for safely incorporating lights into banners
Safety is key when working with lights. Always use LED fairy lights since they stay cool and are safer to handle. Avoid using lights with frayed wires or damaged plugs. If you’re using a battery pack, make sure it’s securely attached and out of sight.
Keep the lights away from flammable materials like paper or thin fabric. If your banner will hang outdoors, choose waterproof lights to protect against rain or moisture. And don’t forget to turn off the lights when the party’s over to save battery life and prevent overheating.
With these tips, your glowing banner will be both stunning and safe. It’s a simple way to make your birthday celebration unforgettable!
3D Pop-Up Happy Birthday Banner
Layered paper designs for a dimensional look
A 3D pop-up happy birthday banner adds a fun and creative twist to your party decorations. It’s all about layering paper to create a design that stands out—literally! You can use colorful cardstock or patterned paper to make each layer pop. Start by choosing a theme or design, like balloons, cakes, or stars. Then, cut out shapes in different sizes to create depth.
To assemble your banner, glue the smaller shapes on top of the larger ones. Use foam tape or adhesive dots between layers to give them a raised effect. This technique makes your banner look dynamic and eye-catching. You can also add glitter or metallic paper for extra sparkle.
If you’re looking for inspiration, tutorials on 3D paper projects can be a big help. One guide shows how to use mat board and dies to create layered designs. Another explains how to draw, cut, and glue shapes for a stunning 3D effect. These techniques are easy to adapt for your birthday banner.
Tip: Use contrasting colors for your layers to make the design more vibrant.
Tools and techniques for creating 3D effects
Creating a 3D banner doesn’t require fancy tools. A few basics like scissors, a craft knife, and a cutting mat will do the trick. For precise cuts, a die-cutting machine can save time and effort. Foam tape is essential for adding height between layers.
Start by sketching your design on paper. Transfer the shapes onto cardstock and cut them out carefully. Layer the pieces using foam tape or glue. Folding techniques can also add dimension. For example, you can fold paper strips into accordion shapes for a playful touch.
If you’re new to 3D crafts, don’t worry. Step-by-step tutorials can guide you through the process. One tutorial highlights the importance of folding and die-cutting techniques for effective pop-ups. Another focuses on layering paper to create depth. With a little practice, you’ll have a banner that wows everyone at the party!
Pro Tip: Store your banner flat to keep the layers intact for future use.
Eco-Friendly Plantable Happy Birthday Banner
Made from seed paper that grows into plants
Want a green way to decorate? Try a plantable happy birthday banner! These banners use seed paper, which has seeds inside. After the party, plant the paper in soil. Soon, flowers, herbs, or veggies will grow. It’s a fun way to celebrate and help the planet.
Seed paper doesn’t create waste. It breaks down naturally and helps plants grow. This makes it a great eco-friendly choice over regular decorations. Using recycled paper and supporting nature makes this banner special. Plus, it’s a cool topic to talk about at your party!
Tip: Pick seed paper with mixed flower seeds for a colorful garden later.
How to find or make seed paper
You can buy seed paper online or at green craft stores. Many shops let you customize designs to match your party theme. Feeling creative? Making seed paper at home is simple and fun.
Blend old paper scraps with water to make a pulp. Add seeds, then spread the mix on a screen to dry. Once dry, cut it into shapes for your banner. String the pieces together, and you’ve made a pretty, earth-friendly decoration.
Pro Tip: Use seeds from local plants to help your area’s environment.
Photo Collage Happy Birthday Banner
Adding personal photos to make it special
A photo collage happy birthday banner is a sweet way to celebrate. Use personal photos to make it unique and full of meaning. Choose pictures that show fun times, like trips, parties, or funny moments. These photos will make everyone smile and start fun conversations.
First, print your photos in sizes that fit your banner. You can pick square, rectangle, or circle shapes. Use thick photo paper so they don’t bend easily. Place the photos on colorful paper or cardstock to create a nice border. This makes your banner look neat and finished.
Want to add more personality? Write captions or dates under the photos. You can also use stickers or draw little designs to make it extra special.
Tip: Stick your photos with double-sided tape or glue that’s safe for pictures.
Fun ways to arrange your photos
How you arrange your photos can change the whole look. Line them up straight for a simple style. Or, try a zigzag or layered design for something more fun.
For a themed banner, group photos by year or event. For example, you could show the birthday person growing up over the years. Another idea is to mix photos with decorations like stars, balloons, or flowers. This makes the banner more colorful and exciting.
If you’re in a hurry, use a photo app to make a digital collage. Print it as one piece and attach it to your banner. It’s fast and still looks great!
Pro Tip: Clip your photos to a string with clothespins. It’s easy to set up and lets you move the pictures around if needed.
Calligraphy and Gold Foil Happy Birthday Banner
Elegant hand-lettered designs with metallic accents
If you’re looking for a classy and timeless decoration, a calligraphy and gold foil happy birthday banner is the way to go. The elegant hand-lettering paired with shiny metallic accents creates a sophisticated look that’s perfect for any celebration. You can customize the design to match the birthday theme or the guest of honor’s favorite colors.
Start by choosing a high-quality cardstock or thick paper as your base. Use a calligraphy pen or brush marker to write each letter. If you’re new to calligraphy, don’t worry! You can use stencils or printable templates to guide your lettering. Once the letters are ready, add gold foil accents to make them shine. You can use adhesive foil sheets or gold paint for this step.
For an extra touch, consider adding small details like stars, swirls, or floral patterns around the letters. These little embellishments can make your banner even more eye-catching. Hang it up with a satin ribbon or string for a polished finish.
Tip: Use metallic markers if you don’t have gold foil. They’re easy to use and still give a shiny effect.
Tools for achieving a professional look
To create a professional-looking banner, you’ll need the right tools. A calligraphy pen or brush marker is essential for smooth, flowing letters. Gold foil sheets or metallic markers will add that luxurious touch. A ruler and pencil can help you plan your layout and keep everything aligned.
If you want to take it up a notch, invest in a heat embossing tool. This tool melts embossing powder onto your letters, giving them a raised, glossy finish. It’s a simple way to make your banner look like it came from a designer’s studio.
Don’t forget to practice your lettering on scrap paper before starting. This helps you get comfortable with the tools and ensures your final design looks flawless. With a little effort, you’ll have a stunning happy birthday banner that everyone will admire.
Pro Tip: Store your finished banner in a flat, dry place to keep it looking fresh for future use.
Interactive Message Happy Birthday Banner
Banners with spaces for guests to write notes
An interactive message happy birthday banner makes your party extra special. This banner has blank spots where guests can write notes, wishes, or draw pictures. It’s more than just a decoration—it becomes a keepsake full of kind messages from your friends and family.
To make one, use sturdy materials like cardstock or fabric. Leave enough space on each part for people to write easily. Provide markers, pens, or chalk, depending on the material. Arrange the pieces to spell “Happy Birthday” and hang it where everyone can reach.
Tip: Bright markers or metallic pens make the notes stand out!
This idea works for all ages. Kids can draw fun pictures, and adults can write sweet messages. By the end of the party, you’ll have a unique decoration filled with memories.
Fun ways to make it an activity at the party
Make your banner even more fun by creating a “message station.” Set up a table with markers, stickers, and stamps for guests to use. You could also include a small photo printer so they can add pictures with their notes.
Give ideas like writing a “favorite memory” or “birthday wish.” For younger kids, provide stencils or stickers to help them join in.
Pro Tip: Play music near the station to keep the mood fun and lively!
This interactive banner adds a personal touch and keeps guests entertained. It’s a perfect addition to any birthday celebration.
Making decor banners by hand makes birthdays feel more unique. Choose from fancy, green-friendly, or playful styles to fit your vibe. A birthday banner shows effort and stands out to guests. Use these ideas for your party, and the memories will stay forever!
FAQ
How do I choose the right happy birthday banner for my party planning?
Think about your party theme, colors, and vibe. Match the banner style to these elements for a cohesive look.
Can I free printable happy birthday banner at home?
Yes! Find those printable thick paper and custom them as birthday banner, but you need to get a great template online.
What’s the easiest DIY banner idea for beginners?
Try the chalkboard-style banner. It’s simple, requires minimal tools, and you can customize it for any occasion.
What ages birthday banners most used?
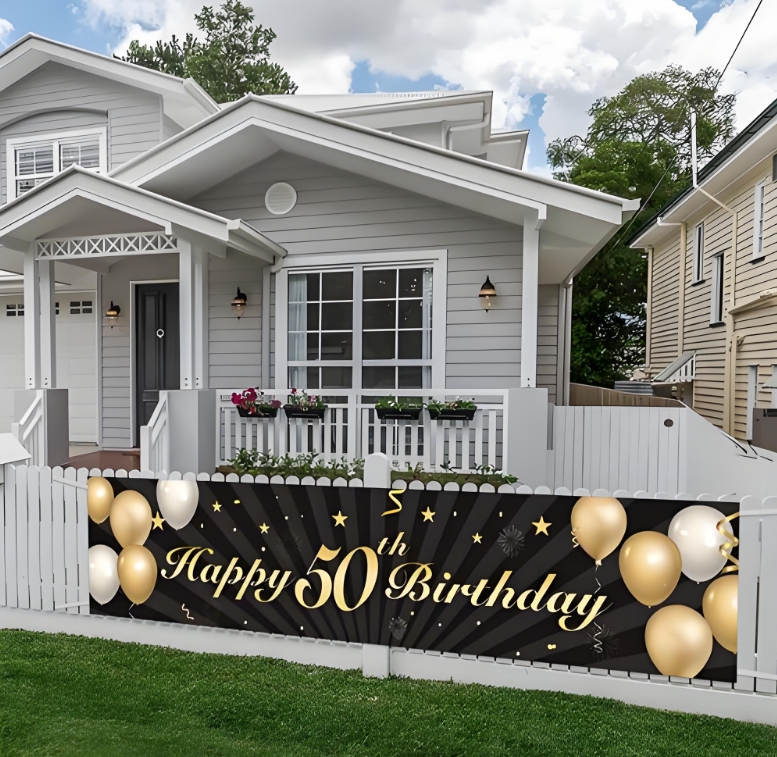
Parents always have their birthday banner 1st, and some couples will have their 21th, 30th, 50th,70th,80th birthday banners. It only depend on your demands.

